Hello everybody, hope you are having an amazing day today. Today, I will show you a way to prepare a distinctive dish, moist and rich half-baked souffle cheesecake. One of my favorites. This time, I will make it a little bit tasty. This is gonna smell and look delicious.
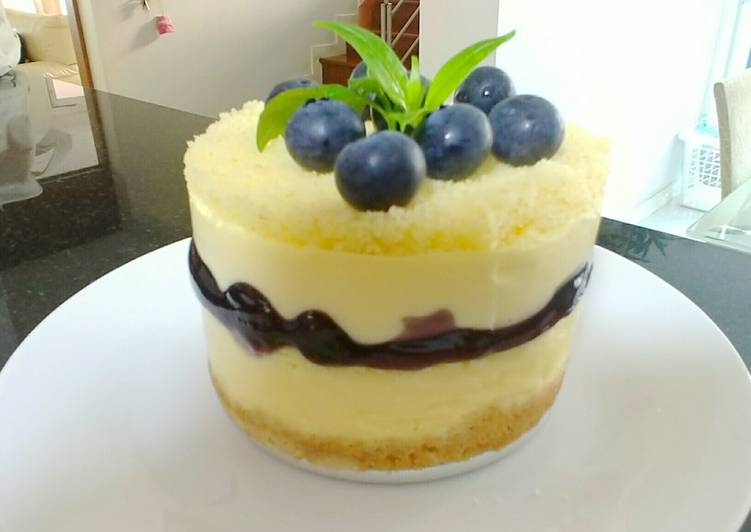
hanjuku japanese half baked souffles cheesecake gluten free. This cheesecake is fluffy like half-risen soufflé cheesecake and yet doubly loaded with creamy cream cheese. Pour hot water into a larger tray until half way deep, place the friand pan into the tray.
Moist and Rich Half-Baked Souffle Cheesecake is one of the most well liked of current trending foods in the world. It is appreciated by millions daily. It’s easy, it is quick, it tastes yummy. Moist and Rich Half-Baked Souffle Cheesecake is something that I have loved my entire life. They are fine and they look fantastic.
To get started with this recipe, we have to first prepare a few ingredients. You can cook moist and rich half-baked souffle cheesecake using 8 ingredients and 22 steps. Here is how you can achieve that.
The ingredients needed to make Moist and Rich Half-Baked Souffle Cheesecake:
- Prepare 300 grams Cream cheese
- Make ready 40 grams Unsalted cultured butter (or normal unsalted butter)
- Take 60 grams Egg yolk
- Take 20 grams Cornstarch
- Prepare 70 grams Sour cream
- Take 30 grams Milk
- Prepare 90 grams Egg white
- Get 75 grams Granulated sugar
To make the cream cheese custard, place the milk and cream cheese in a small saucepan over medium heat, whisking occasionally until the mixture is. As you can guess from the name, it is a light and airy soufflé-like dessert as There are mainly two kinds of cheesecakes in Japan; rare and baked. Rare cheesecake uses gelatin to solidify and set in the fridge. Also called Cotton Cheesecake, Japanese Cheesecake is light, fluffy, moist and less sweet than any other cheesecakes.
Instructions to make Moist and Rich Half-Baked Souffle Cheesecake:
- Line the pan with parchment paper. Make it so that the paper sticks out about 1cm over the edges. Cut a circle out of parchment paper to place in the bottom. The photo shows it sticking out more than 1 cm, that's okay.
- Wrap the cream cheese with plastic wrap and flatten it out. Microwave for several seconds at a time to soften. Don't microwave it so that it gets too hot and cooks!
- Place Step 2 into a bowl and use a whisk to cream it. Melt the butter in the microwave and add it to the cream cheese in 3 batches. Combine well.
- In a separate bowl, add the egg yolks and sifted cornstarch. Mix together until it's no longer lumpy.
- Soften the sour cream a tiny bit in the microwave. Add to Step 4 and mix well. Add in the milk and combine well.
- Pour Step 5 bit by bit into Step 3 and combine it well. Once it has been evenly combined, strain through a strainer 2-3 times.
- While mixing the ingredients, scrape off any batter that sticks to the whisk and stir it in. Make sure to combine everything evenly. Also scrape off any batter from the edges of the bowl!
- Add the egg whites and granulated sugar to a clean bowl and whip with a whisk until soft peaks form. If you whip it too much, it will separate when baked, so be careful!
- I recommend using a whisk because the possibility of over-mixing when using a hand mixer is quite high. Meanwhile, preheat the oven to 170°C.
- The egg whites should be whipped until it is thick and slowly flows back into the bowl when scooped up! If it isn't held together and it drips into the bowl, it has been whipped too much.
- Add 1/3 of the egg whites to Step 6. Mix it in using cutting motions by scooping up from the bottom of the mixture. Add the rest of the egg whites and combine with a rubber spatula equally while keeping the air bubbles intact.
- After combining, the batter should leave marks that quickly disappear on the surface after being scooped up and dripped back in.
- Pour Step 12 into the cake pan and gently shake to even out the surface. Place the pan on a baking tray. Pour water into the tray until about 2cm up the sides of the cake pan. The cheesecake will be baked in this double boiler type setup.
- Cover the bottom of the cake pan with aluminum foil or place it on stainless steel plate so that water doesn't leak in. A plate about 1 size larger than the cake pan works well.
- Place into the oven. Lower the temperature to 150°C and bake for 45-50 minutes. Once it has turned golden brown and elastic, it's done.
- Leave in the pan until it cools. It will be soft so it falls apart easily. Once cooled, remove from the pan with the parchment paper.
- Cover with plastic wrap and let it chill in the refrigerator for 1 day. This will allow the cake to settle and the flavors will blend together nicely! You'll want to eat it but have patience!
- I cover it with plastic wrap and then put it in a sealed Ziploc baggie to prevent the cake from absorbing the smells of the refrigerator.
- Serve after a day or two.
- If you need to freeze the leftovers, individually wrap each slice in plastic wrap, place in an airtight container and then store in the freezer. You can thaw the slices out in the microwave.
- Serve the cake frozen during the summer!! It'll taste like cream cheese ice cream.
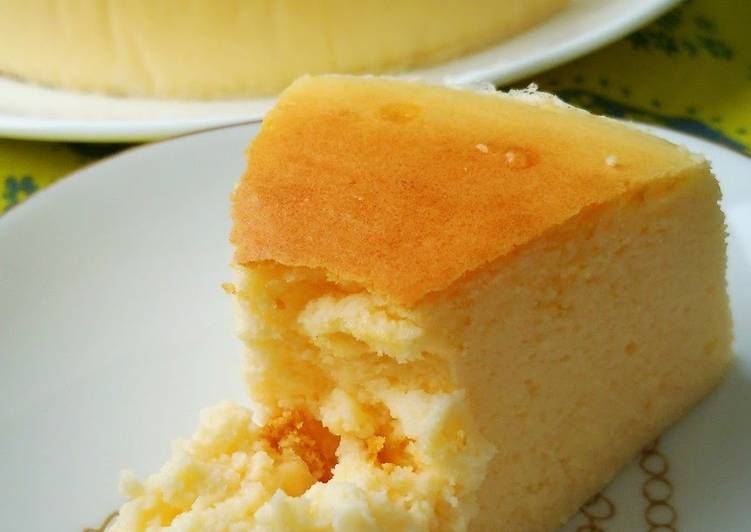
- Compared to other recipes, this cheesecake may not be as fluffy or rise as much. The texture should be right in the middle of baked and souffle cheesecakes.
I did not know this Japanese baked cheesecake was called Cotton Cheesecake because in Japan, it is called soufflé cheesecake or baked cheesecake. The Japanese cheesecake is not like a chiffon cake where you want the cake to rise a lot and create lots. Souffle traditionally doesn't use any baking powder and neither does Japanese souffle cheesecake. Though I find they have to be cooked quite slowly as to get them cooked through without burning as they're so moist. I normally use stiff eggwhites for my pancakes anyway so I used.
So that’s going to wrap this up for this special food moist and rich half-baked souffle cheesecake recipe. Thank you very much for your time. I’m confident that you will make this at home. There’s gonna be more interesting food in home recipes coming up. Remember to bookmark this page in your browser, and share it to your family, colleague and friends. Thank you for reading. Go on get cooking!